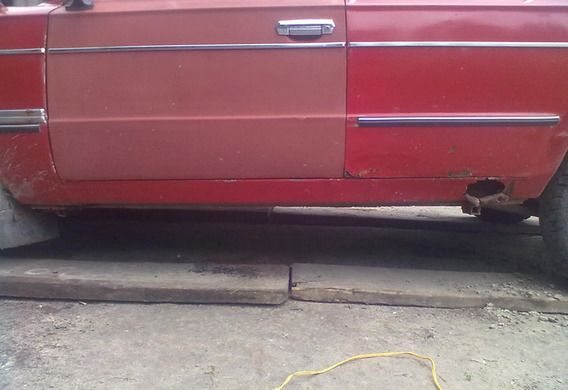
The thresholds have always been the weakness of the VAZ cars. In almost any model (2106, 2107, 2108, 2109, 2110, 2111, 2112, 2113, 2114, etc.), the thresholds are not of too high quality, and the level of corrosion is often cripple. Because of the aggressive nature of the environment (road chemistry, temperature swings, road stones), the VAZ thresholds are very often rot and decay. And sometimes the process goes so far that fixing the WAZ threshold is meaningless and it's just changing it. Tools to replace the VAZ threshold with their own hands
Tools to replace the VAZ threshold with their own hands
To change the thresholds on the VAZ car, you will need the following tools and materials: the new threshold (external part and amplifier), primer, paint, Bulgarian, electric drill, welding machine (it is more convenient to use a semi-submachine in the carbon dioxide environment). How to correctly replace the thresholds with your hands
- the new threshold (external part and amplifier),
- primer,
- paint,
- Bulgarian
- electric drill,
- a welding machine (it is more convenient to use a semi-machine in the carbon dioxide environment).
How to correctly replace the thresholds with your hands
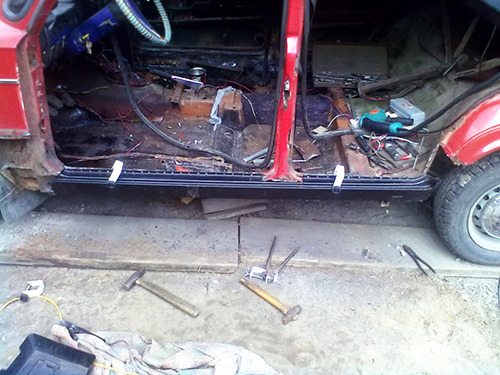
The process of replacing thresholds requires some skill and skill, but it does not mean that you will not be able to do so. You must adjust the doors before you begin to replace the thresholds on your VAZ. The point is that after replacement you will need to monitor the gap between the door and door, and if the door fails, objectively evaluate this body parameter. Once the loop has been adjusted, you can proceed directly to the threshold replacement. The procedure is as follows:
1. Remove the door so that it does not interfere with the work.
2. Use the bolt cutter to cut the external part of the threshold that you are about to change and then remove the inside threshold amplifier.
3. Carefully examine all seams and remove the remains of the old rotted threshold.
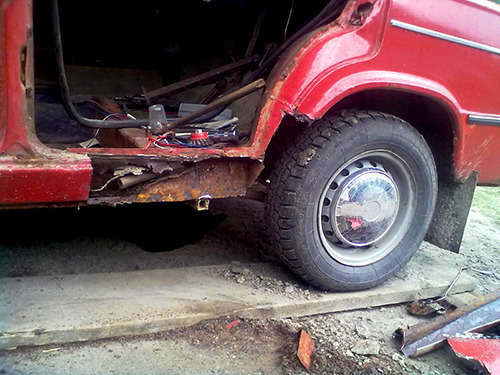
4. Clear the surface and prepare it for welding.
5. Resize the new threshold amplifier.
6. The diameter of 4 to 6 mm in diameter shall be in the amplifier of the opening for subsequent welding (the distance between openings shall be not less than 5-7 cm).
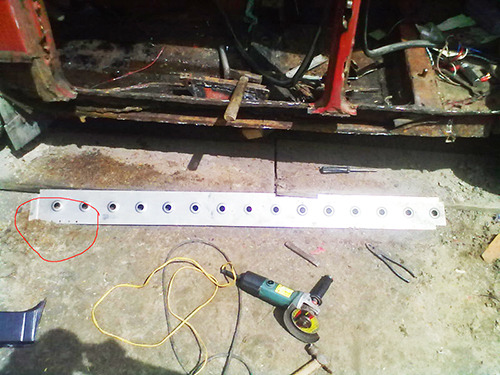
7. Check whether the amplifier is installed and present it.
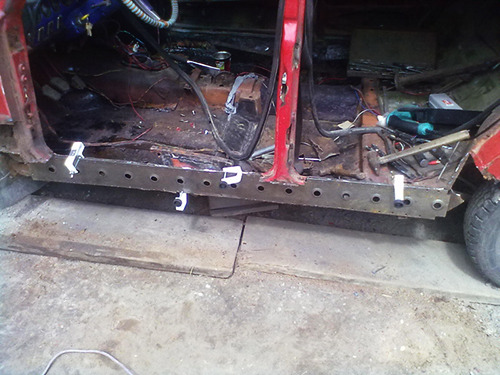
8. At the end of the procedure, the welding shall be thoroughly cleaned.
9. Primize and adjust the outer part of the threshold if necessary.
10. Attach the lower side of the threshold to the Smores and weigh the door to monitor the gap between the door and the door.
11. If the threshold is set straight, it can be welding.
12. Clear traces of welding.
13. Once the welding has been completed, the new threshold can be pended and painted.


