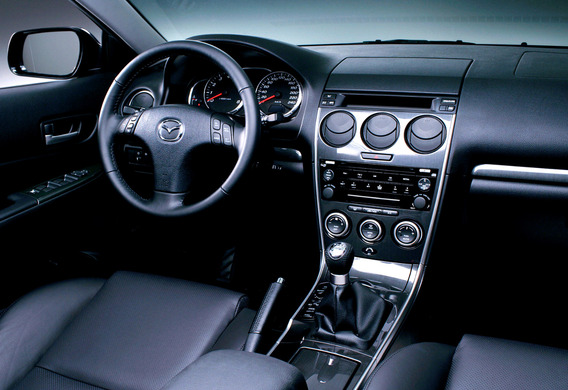
The burned-out Climate Control lamp-control on the first generation of the first generation can be replaced by its own. This will require a Phillips screwdriver, a flat-blade screwdriver, a 10-blade head, and a pair of scissors. You must do the following:
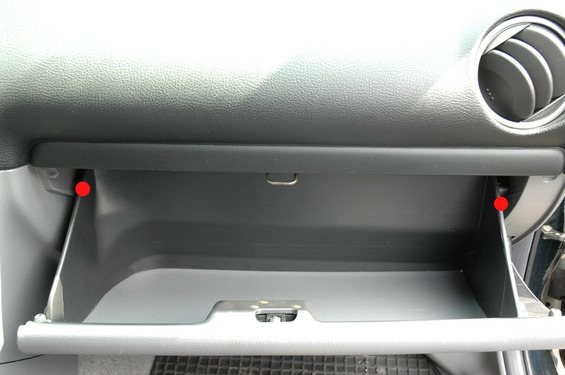
1. Delete the gard. In the places highlighted in red, you have to compress the glove box toward the center of the center.
2. Now remove the cover shock absorber by sliding it to the left (shown by the arrow) and remove the cover from the bar.

3. Now it is necessary to rotate the head to 10 bolts.

4. Next, remove the bezel with the beakers by unlocking the latches on the sides and pulling it up to the red.

5. Next, it is necessary to unwind the handle of the checkpoint and remove the second part of the tunnel, detach from it the connectors of the cigarette lighter and the backlights.
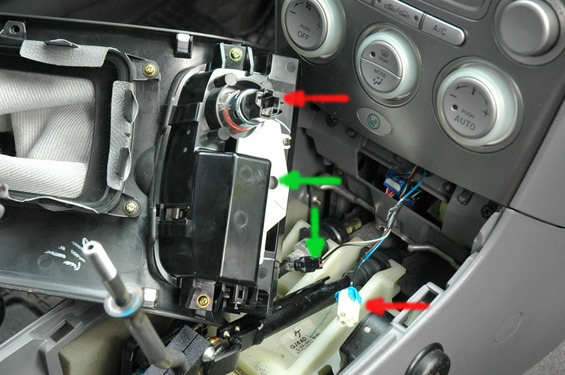
6. It is necessary to unroll the two smores pointed to by the green arrows. They are also on the bolt mentioned in the paragraph. 3 holds a panel with a magnetoom and a climatic installation.

7. It is necessary to maximize the magneton panel and disconnect the slots pointed to by green arrows.

8. Fetch the panel, turn it upside down, and roll out the carrots pointed to by the arrows.
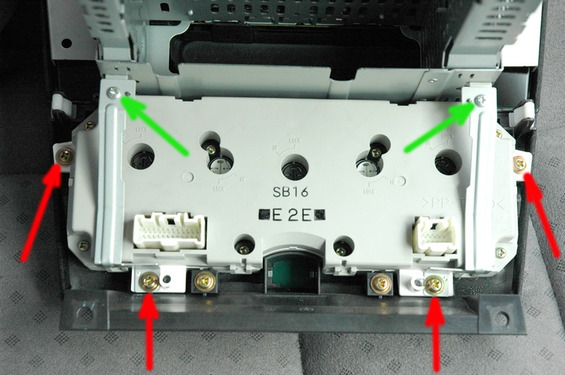
9. Remove the climate control-control unit, turn it upside down, and also roll out the carrots.

10. Move the unit to the end and disconnect the 4 latches using a flat-blade screwdriver (indicated by arrows).
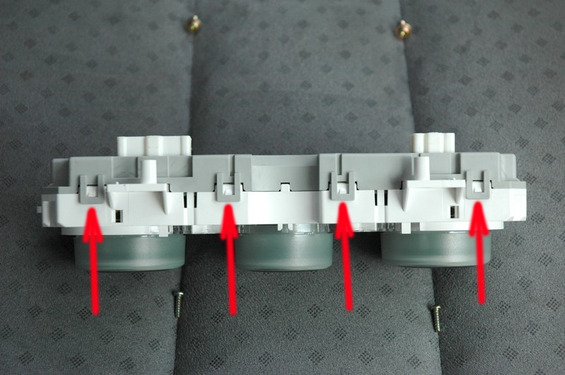
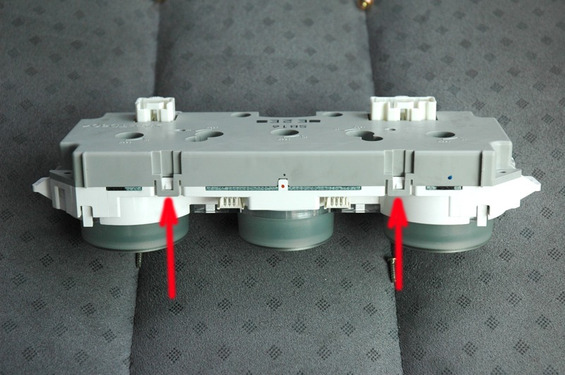
11. Expand the unit by 180 degrees and detach two other latches.
12. Once the lid is removed, 5 cartridges (2 white and 3 gray) will be opened. That's the light bulbs.

13. The picture shows a cap that serves as a light filter, a lamp in the holder and a new lamp.
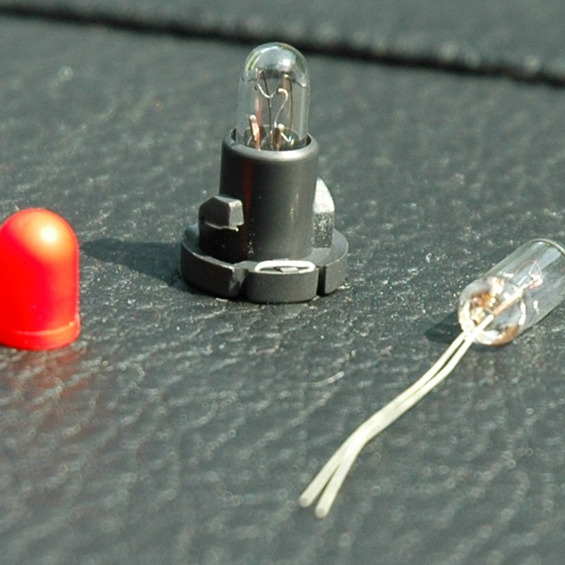
14. The new lamp should be turned on the same way as the mustache of an old lamp.
The assembly is in reverse sequence.


