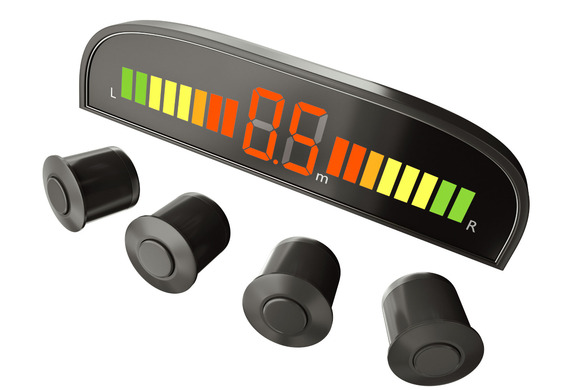
It is not difficult to install a full-time parktronic, but it will take a long time (up to 8 hours with short breaks). The first thing you need to do is to disassemble the trunk and the right side of the salon, to disassemble the rear bumper. Next, you need to cut four holes in the marks, decimate the edges of the holes and to glue the sensors in the order. The sensor cable goes through the hole in the right side. There's a permanent place to install the parktronic block. There's a lot of plastic chompers in the bottom of the middle. Front panel (remove the bardade, as well as the bezel and the pane to the left of the steering column).Connect to the CAN bus through the diagnostic connector on the J533 data bus interface (6 and 16th pin). It's under the steering column on the right. To access it, you need to remove the air duct by unscrewing one screw.
- The first thing is to dismantle the trunk and the right side of the salon, dismantle the rear bumper.
- The next is to cut four holes in the labels, remove the edge of the holes, and insert the sensors in the order prescribed by the instruction.
- The sensor cable enters the salon through the hole in the right side.
- On the right, there's a regular place in the trunk to install the parktronic, it's best to use it.
- There's a bolt to fix the minus tick.
- The speaker shall be secured by plastic homerations into the permanent holes in the lower part of the middle frame.
- The next part is to remove the front bezel (remove the gard, as well as the bezel to the left side of the column).
- Connect to the CAN bus through the diagnostic connector on the J533 data bus interface (6 and 16th pin). It's under the steering column on the right.
- To access it, remove the duct by unscrewing one screw.
- The pellum cell should be connected to the 19th fuse box number.


