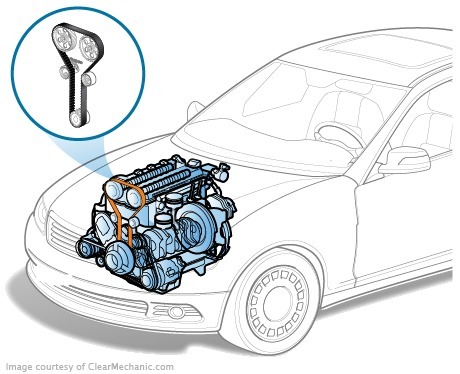
To replace the GRM-belt, remove the air filter and the right wheel. Then remove the air conditioning compressor's belt and generator belt. Demonstrate the front cover of the gas distribution mechanism. Rotate the wheel clockwise for the head of a pulley with a head on 17. You need to turn around until the label on the pulleback does not match the label mounted on the back cover of the GRM facility. The label in the auxiliary units shall be placed opposite the label on the lower front cover of the GRM drive. Remove the steering equipment from the hydro-amplifier and turn off the hinge pin of the auxiliary units of the head on 17.
The assistant should include the fifth gear and press the brake pedal-this procedure will help keep the crankshaft from wading. Remove the bolt bolt and remove pulley from the auxiliary units. Once again, check the label on the teeth of the pulley, with a mark on the back cover of the gas distribution mechanism-the mark on the wheel of the knee wheel should be in front of the label on the back cover of the gas distribution mechanism. The top 10 head must be turned away by the three screws at the bottom of the front cover of the GRM mechanism and removed. To relax the tensioning of the GRM straps, turn the screwdriver clockwise until the hole in it is aligned with the hole in the rabbit's belt. Insert a 4-4.5 mm diameter line between the pin and the pin. (e.g. rear drill part). Remove the RMM belt from the mechanism of the teeth of the prevales, the shaft and the pump. Remove the tension clip from the cylinder head to 12 and remove it.
Note: The timing of the GRM is optional if the purpose of the mechanism is to replace the tension roller. Setting the new tension clip in reverse order, pulling the rollers-23 Nm.


