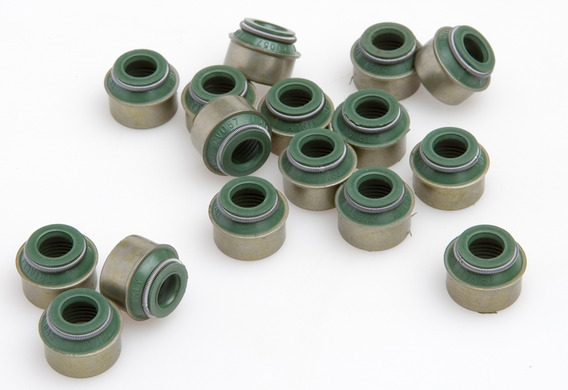
The shutter caps (or valves) are required to allow only the necessary oil necessary for the lubricant of the valve to be allowed. The shale caps are made of rubber, so over time they wear them like any other rubber details. If you have determined that the WAZs are worn out, they need to be replaced. The valves of the valves can be replaced with their hands, but this will require a special tool.
What is needed to replace the oil tutu of the VAZ (2105, 2106, 2107, 2108, 2109, 2110, 2111, 2112, 2113, 2114, 2115, etc.) by hand: The lightener of the cap-ring, the head, the ream for the lifting of the cap-ups, the tweezers, the tin rod of 8 mm in diameter (can be used with a pip).
- The asant of the oil cap.
- the slightener,
- the mandrel for the groping of the shackles,
- tweezers,
- 8 mm in diameter (can be used with a prim).
The procedure for replacement of the oil cap on the 8 valve engines VAZ is as follows:
1. The air filter, the petrol pump and the ignition engine must be removed before proceeding directly to the replacement of the cap-off caps.
2. 5-Traveler to detach the attachment bolt of the auxiliary units. After that, remove the pulsated pullout from the battery, remove the sprockical pulley and the HBCD cover.
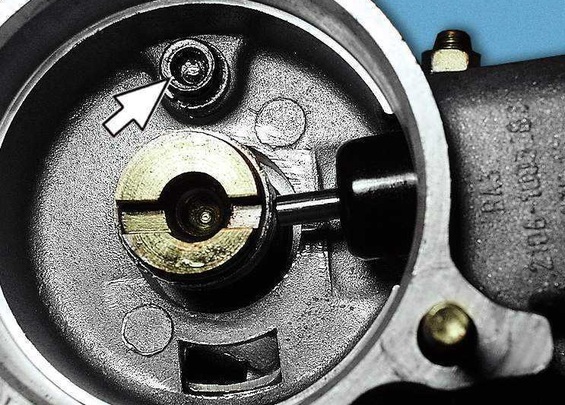
3. Remove the two nuts (in the figure 1), remove the "mass" wires. Remove two more nuts (number 2) and bolts (3 digits) that attach the back cover.
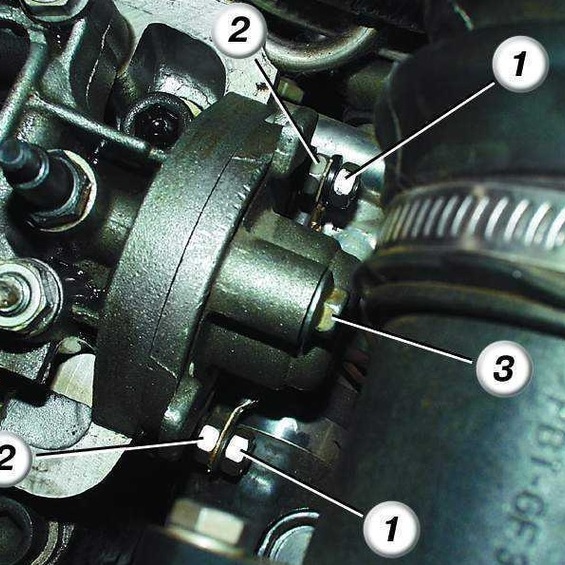
4. Rupping 4 and 6 ghakers (figures 1 and 2 in photos), which hold the front and rear part of the bearings of the distribution shaft. The enclosure can then be removed.

5. Remove the distribution shaft and then dismantle the salnik.
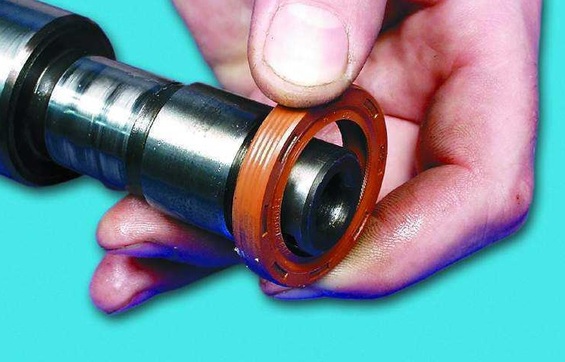
6. Rotate the cap so that the correct piston (the one for which the cap-caps are changing) was at the top of the dead point. To return the candle and replace it with a tin rod (between the valve and the piston) so that the valve does not go down.
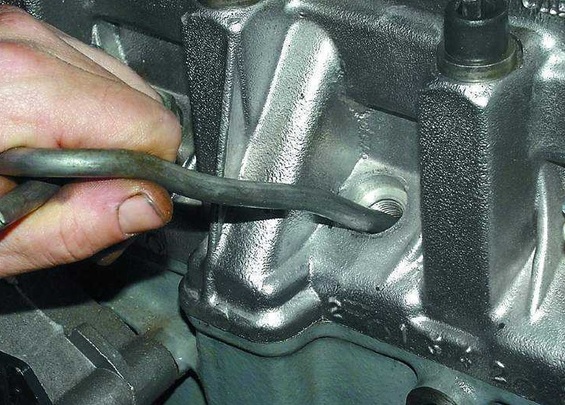
7. Adjust the sprinkler to remove the valves. You must use a nut without a toothed burke.

8. Compress the spring, after which the pair of drying shall be removed.

9. Extract the upper plate of the spring, and then remove the outer and inner springs.
10. Commit the removal of the cap-cap, abruptly impact on the tool box and then by handle. In this way, you will be able to press the valve cap from the guide rail.

11. Before placing new oil caps, they must be removed from the springs to avoid damaging the caps during the installation.
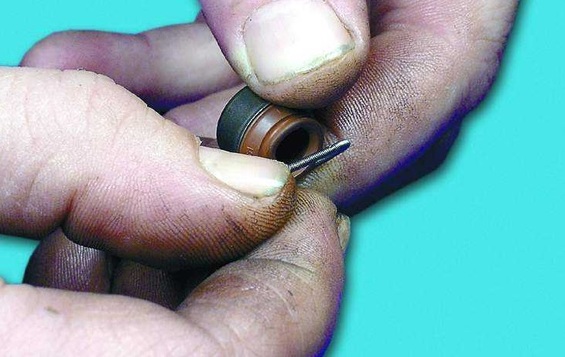
12. Insert the oil-cap cap in the mandrel, soaking it in the engine oil.
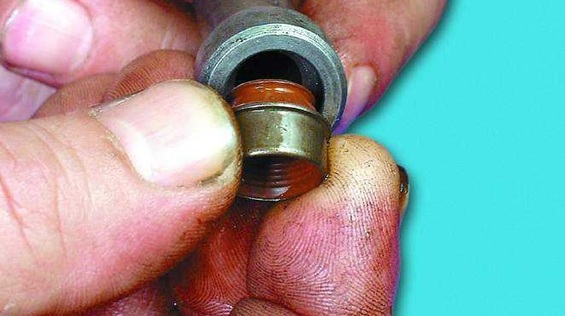
13. Preset the new flap in the lower plate to the plate.
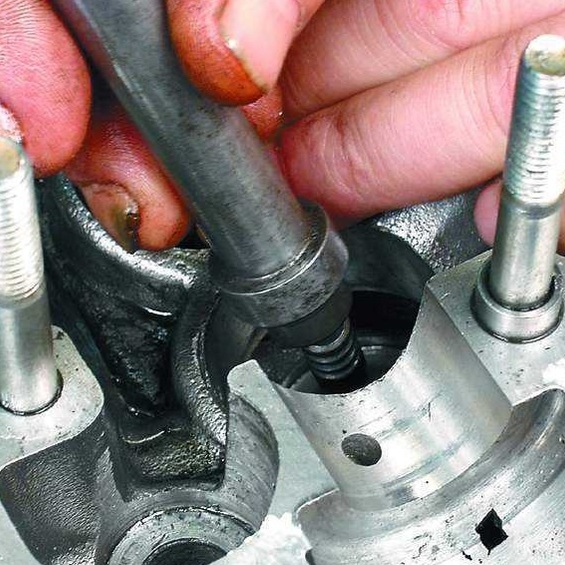
14. Set up a spring spring for oil. Collect springs and valve plate in reverse order. Suhari needs to be installed with a special tool to get them into the propids of the valve.
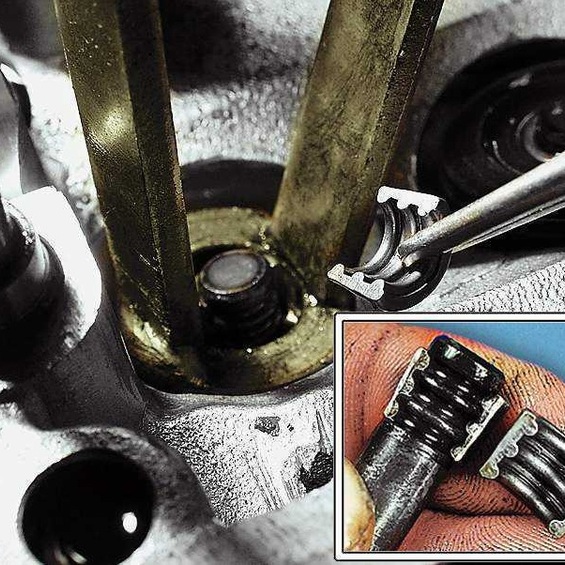
15. Hit the valves with a hammer on the end of the valve (the impact shall be through the metal rod) to put the sukhari in place. Soil the motor oil of the neck and the cucumpers of the wall.
16. The block shall be placed in such a way that the cylinder of the first cylinder is to look away from the push-rod of the valves.

17. In the areas of extreme support, it was predicted that a few sealants would be put on the HBCD.
18. Place the bearings of the bearings, put the pucks on the studs, fastened the nuts, first to the cashier's cashier, and then make sure that the rail guides are clearly entered into the holes of the shells.
19. Praise the Seal to control the clearance of the valves
20. Continue to build in reverse order.


