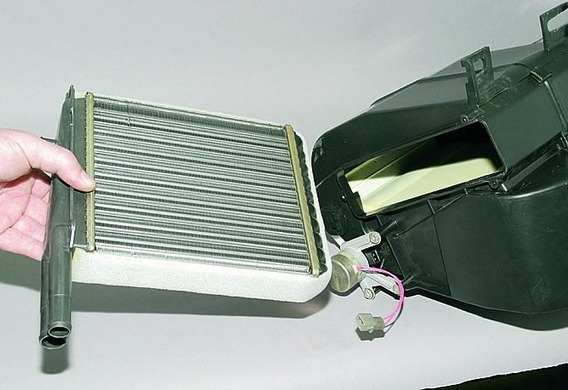
The cars of the 10th family of VAZ (2110, 2111 and 2112) were installed by the heaters of the old and new sample. The new specimen was launched in September 2003. The procedure for replacing the old and new radiator heat sink is slightly different, but you do not need to remove the dashboard. How to replace the heat sink of the old VAZ 2110
How to replace the heat sink of the old VAZ 2110
1. Before replacing the baking heat sink, you must drain the coolant.
2. Remove the rubber gasket on the windscreen.
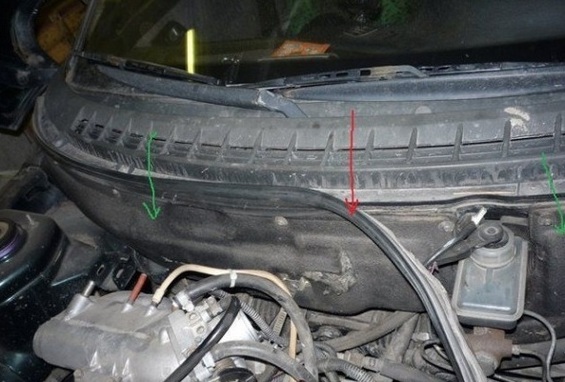
3. Detach and remove the toad.
4. Remove and remove the screws and screws from the sides of the windscreen.
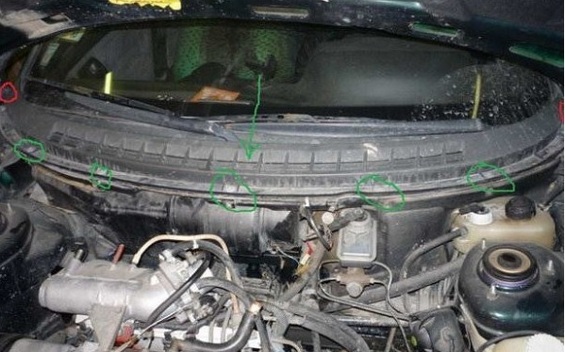
5. Remove and remove the windshield washer hose to ensure that it does not interfere with the process.
6. Detach the caretake of the winders, remove the beettie. The shell will then be accessed.
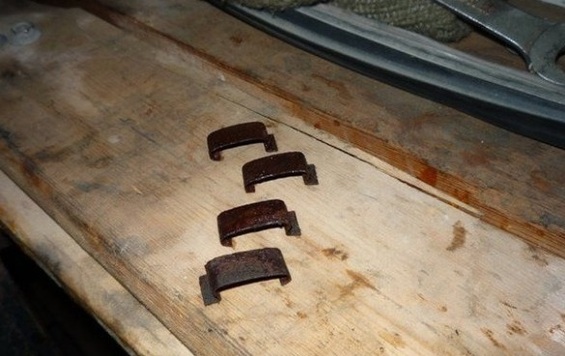
7. Remove metal clamps from the shell. If they are rusty, when you install the new heater heater, you will need to supply new clips.
8. Remove the salon filter, the screws of which are located on the casing of the stove.
9. Disconnect the heater fan by undoing the plush connector and the minute tick.
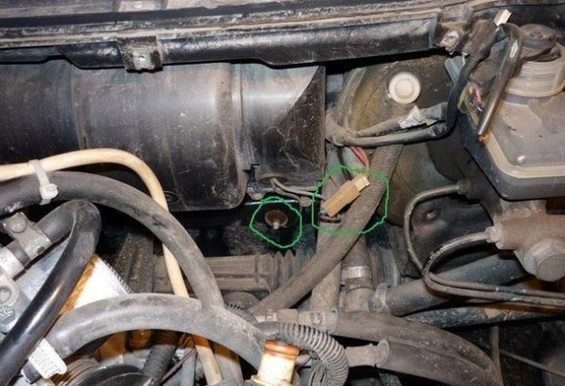
10. Roll out another 3 carroches located on the back of the top of the top cover.
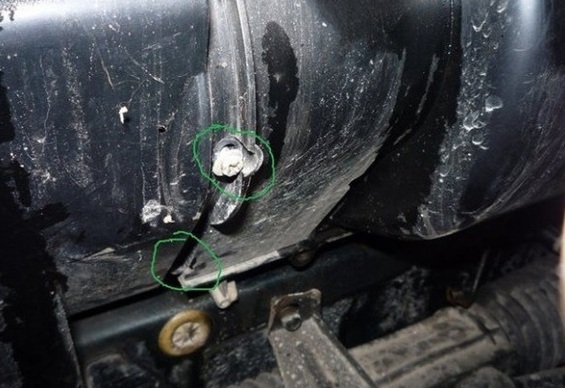
11. Having obtained access to the oven radiator, loosening the hoses hose assemblies and removing the heat sink.
The assembly is reversed. Especially careful to ensure that the heater body is in its place, or the stove simply does not heat due to problems with the layer of layer. It is recommended to replace the salon filter with the oven radiator.
How to replace the radiator of a VAZ 2110, 2111, or 2112 new sample
1. As with the replacement of the old radiator, the cooling liquid must be merged and the access to the heater free of access to the heater.
2. Remove the two hoses going to the heater radiator (fixed by the hoses), as well as a steamer hose that goes to the expansion beam.
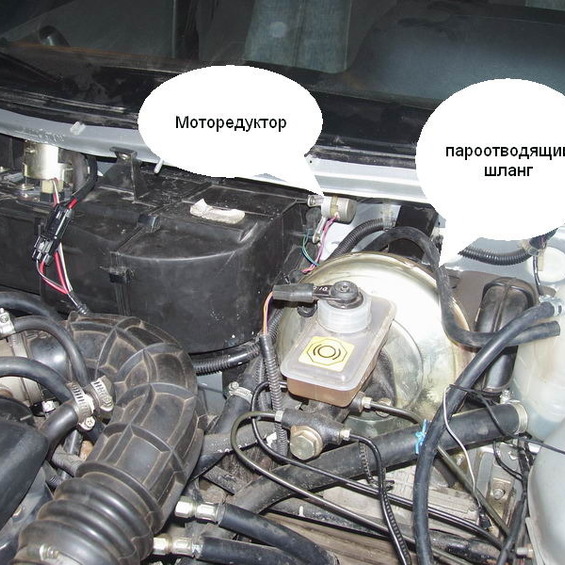
3. Disconnect the two connectors in the heater fan area.
4. Disconnect the wires from the motor-deductor, twist 3 carrigs and disassemble the motor-educator.
5. Find 4 points of attachment of the heater to the bodywork, to the side of the shell.
6. Remove another 4 Samores that attach the air filter cover to the heater and remove the filter so that it does not interfere with the replacement of the heat sink.
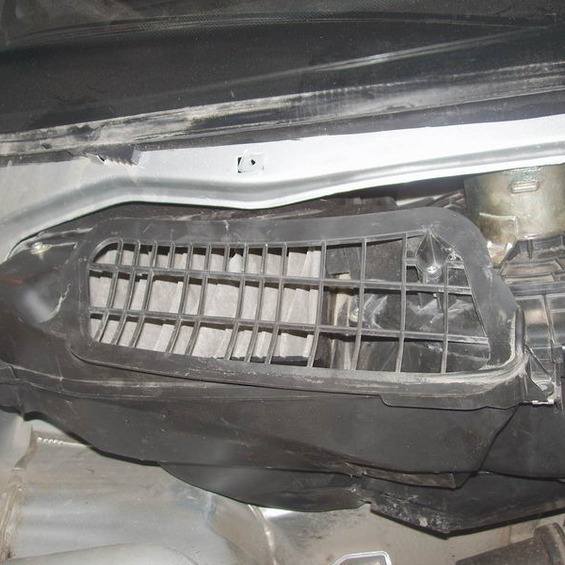
7. Two parts of the heater are secured by 3 smores-they must be unwound. Besides, you have to twist a large nozzle that can be seen through the air inlet (shape).
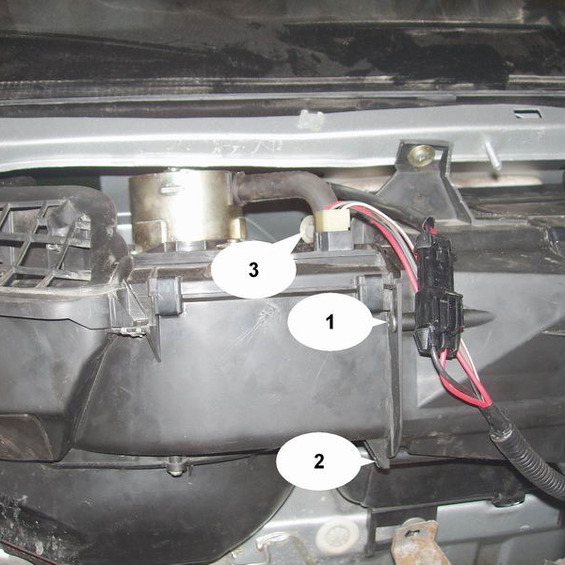
8. Divide the heater into two parts: remove the heater first, then the right part.
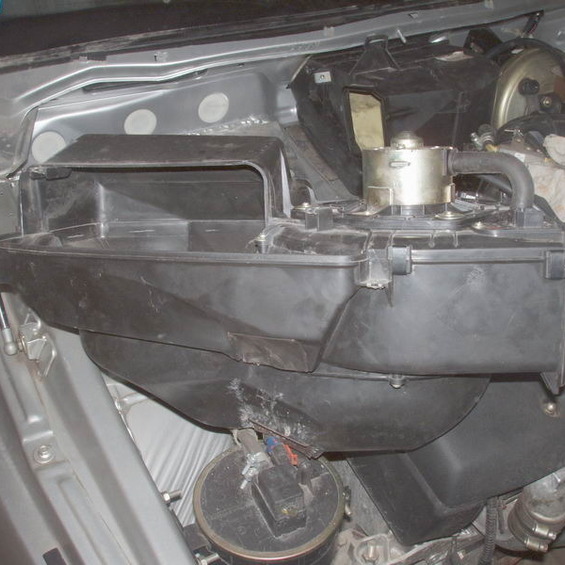
9. Disconnect the brackets that connect the right part of the heater.
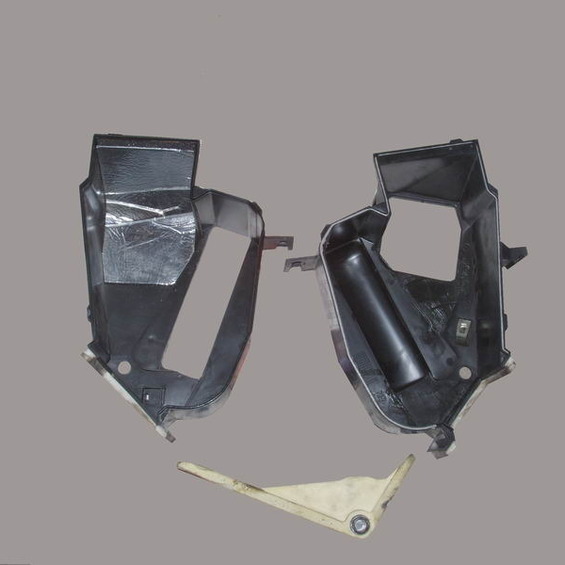
10. You can then remove the shale and replace it with a new one.
11. To wipe out all the details to clean up the dirt and grease, collect the heater in reverse order.


