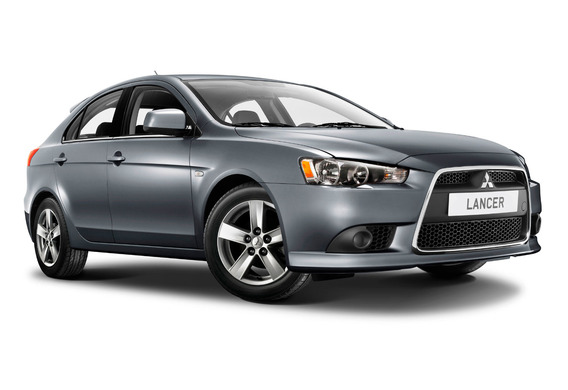
The front bumper is easy to remove, but it will take time. Only a flat-blade screwdriver and a 10 key will be needed from the tools.
First of all we need to clean the place of fixation points on the bumper of the bumper at the wheel arch, which will make the work easier. When removing the pistons, remember where it was installed, because they are all different. Pistons need a screwdriver and take off. Near the top of the wheel archway, under the cover, there is a carrot. The shelves need to be turned off and the carrot twisted. On the right front under the bumper is 4 pistons and from left to 3. They should be dismantled, too. The front of the bumper is bolted by five bolts and has to be turned off. Next, you need to remove the filler panels at the bottom of the heat sink grill (the plastic bed wire mesh). There are two other bolts, which are also to be turned off.
Now we have to open the hood. Under the hood, remove the two groans on which the tip of the air intake is mounted, and then 4 on which there is a plastic lining. There are five other bolts under the plastic lining, which also need to be uncut.
Now we need to remove the side portions of the bumper from the chains. If the headlamps or the parktrolleys are installed, they must be switched off. Now the bumper can be removed.
The assembly is in reverse order. When installing, the white pins on the bumper must be inserted neatly into the pazas below the headlights. If the pins do not come in the way, the headlights will form a crack.


