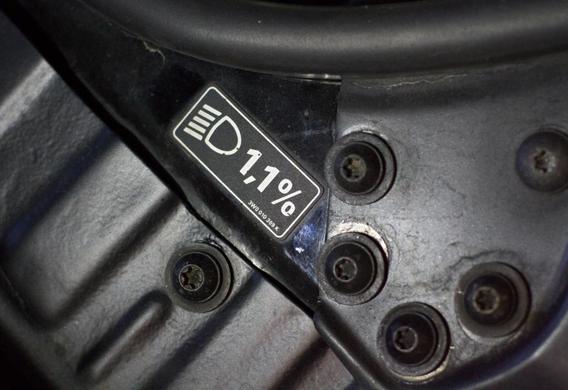
Safe driving is directly related to motor vehicle headlamps. Poorly regulated headlamps can play with the driver a bad joke-in the dark time of day, in rain, snow or fog, the lamps will throw a high beam, "lighting" space in front of the driver and dazzle the oncoming motorists. In order to avoid such a situation, a headlamp aiming procedure is required. Headlamps and adjusting
Headlamps and adjusting
So, the alignment of the headlamps consists of several actions: the adjustment of the angle of the beam inclination, the adjustment of the dipped-beam and the driving beam by means of specialized equipment, and the installation of additional and front fog lamps and, finally, the diagnosis.
It is not difficult to guess that the alignment of the dipped-beam headlamps is the most important, because they are used all the time. The passing beam is designed to cover a distance of up to 60 meters in front of the car, as well as the right shoulder and road signs. If the aiming of the dipped-beam is shot down, the beam may be directed upwards or downwards, which may result in the dazzle of the oncoming vehicles, the driver himself (especially in bad weather), as well as in the shadows or road signs.
The driving beam shall cover the road in front of the car at a distance of 100 to 150 metres. If the headlamps are not adjusted, this may produce the same effects as uncorrected dipped-beam headlamps.
To adjust the headlights the specialists use a special device which is able to take into account the peculiarities of the construction of a motor vehicle-not all vehicles are located at one height. Moreover, this equipment allows to adjust the beam with high accuracy and the car gets a high quality light.
Do you drive the car to the car service or adjust the headlights on your own?
As mentioned above, a particular machine is needed to adjust the headlamps, so it is more appropriate to give the vehicle to the specialists. In addition, the master must check the tyre pressure (to make sure that the car is strictly horizontal about the ground), as well as the lights and the state of the headlamps.
But for more complete familiaration, we will bring the necessary requirements for the adjustment of the taillight to the requirements. This may be useful as a temporary measure, for example, to get to a car service. Now, you need a "screen" is a smooth wall or a plywood sheet where you can then draw the necessary marks. The vehicle must be loaded and fully equipped (loaded with a weight of 75 kilograms). It should also be standing on a perfectly flat horizontal platform 5 metres from the improvised "screen". The axis of the vehicle shall be perpendicular to it. The next step is to check the air pressure in the tyres.
Next, it is necessary to draw vertical lines-the axial lines (the "O") and parallel lines "A" and "B" passing through the "E" points. "A" and "B" should be symmetrical in relation to the centreline of the car. The next line on "screen" is the horizontal line "1" at the height corresponding to the distance of the centres of headlamps from the floor. The line "2" will be held by 65 mm below it.
The dipped-beam should be turned on. By closing the beam of the light in turn first, then the right headlamp shall be adjusted (using the adjusting screws). The upper bound of the regulated headlamps shall coincide with the line 2 and the intersection points of the horizontal and oblique points of light with points E.
Thus, the adjustment of the headlamps is a laborious and complicated procedure, and in the same way that the temporary character-still, the optical equipment and skilled craftsmen need to be properly adjusted.
The aiming should be done to avoid the occurrence of emergency situations and check the correct position of the light beams even on the new car. The exact configuration requires specialized equipment, so this procedure should be done in auto shops. Self-tuning may be possible, but it requires time, patience and high precision, and is only a temporary measure.


