
Brake system
Mitsubishi Lancer X
- Details
- Written by: Jason Hance
-
Also available:
")


Hind brake during reverse running on Mitsubishi Lancer 9
- Details
- Written by: Jason Hance
-
Also available:
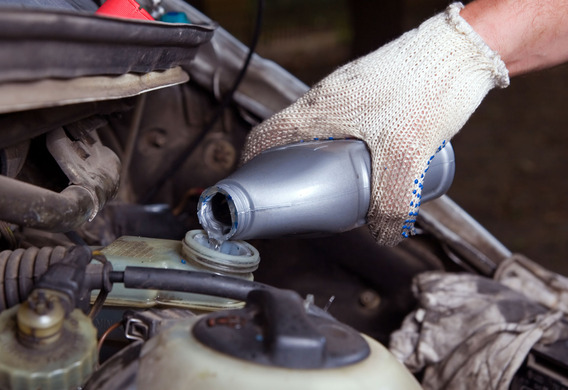
Replacement of brake fluid at Mitsubishi Lancer 9
- Details
- Written by: Jason Hance
-
Also available:
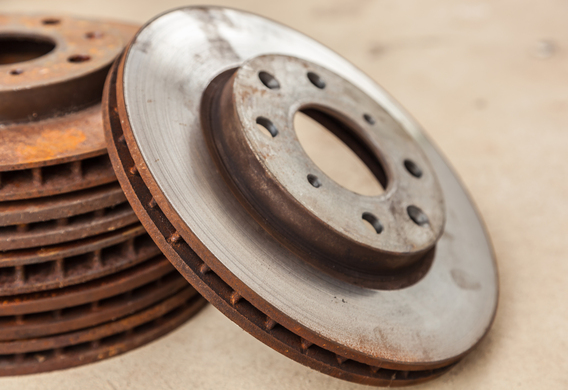
Replacement of Mitsubishi Lancer X
- Details
- Written by: Jason Hance
-
Also available:
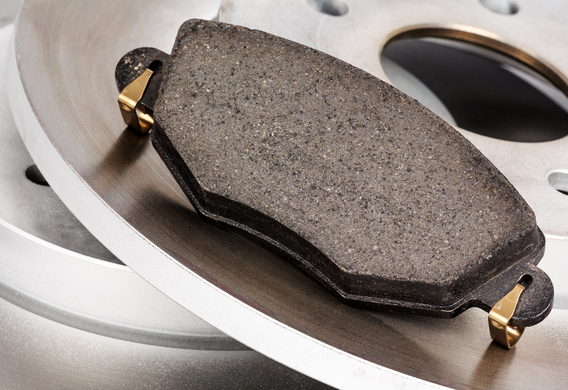
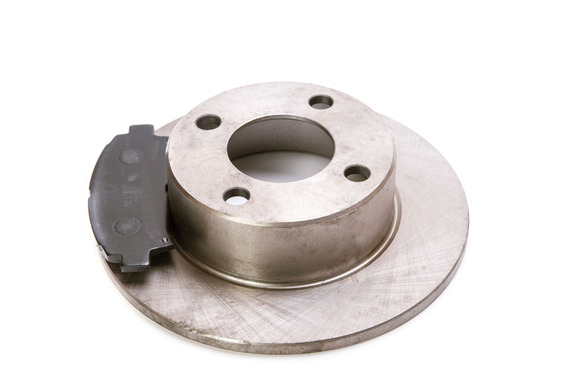
Replacement brake pads at Mitsubishi Lancer X
- Details
- Written by: Jason Hance
-
Also available:

Skrup with Mitsubishi Outlander XL rearward
- Details
- Written by: Jason Hance
-
Also available:
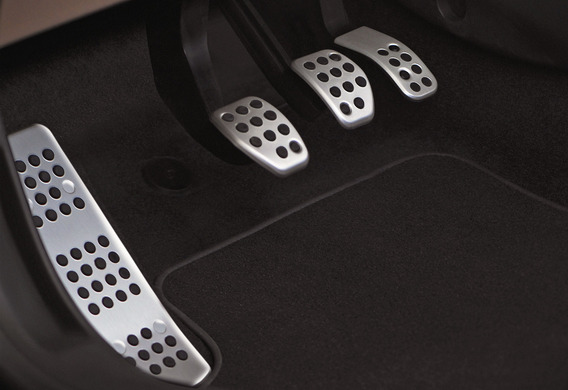
Mitsubishi Outlander XL brake pedal
- Details
- Written by: Jason Hance
-
Also available:
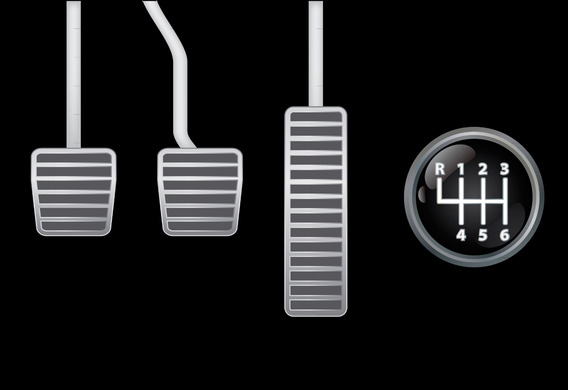
Verification of brake pedal pedal at Mitsubishi Pajero 4
- Details
- Written by: Jason Hance
-
Also available:
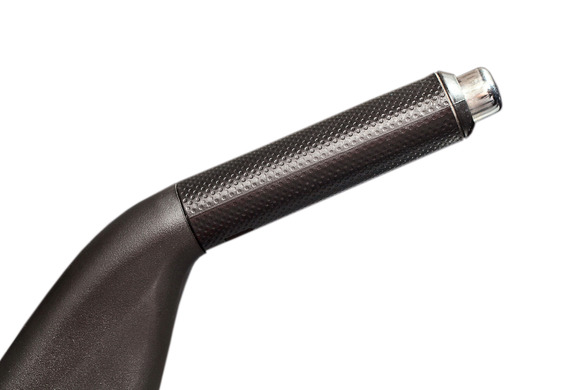
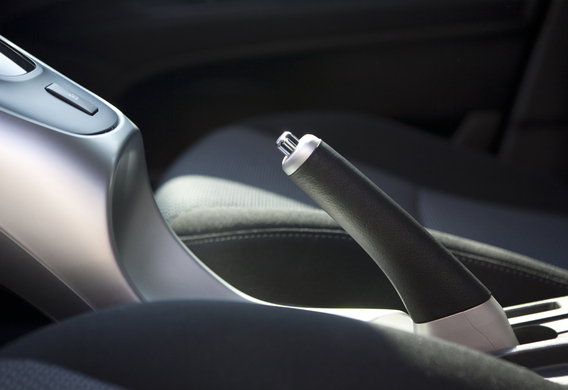
Setting the handbrake at Mitsubishi Pajero 4
- Details
- Written by: Jason Hance
-
Also available:
Brake system malfunction lamp on Mitsubishi Pajero 4
- Details
- Written by: Jason Hance
-
Also available:
Read more: Mitsubishi Lancer X